File History offers you a timeline snapshot of files in important files, including those in the Documents folder and on your Desktop. If you’ve deleted a file, or you want to restore an older file you’ve saved over, you can use File History to do it. File History has since been available since Windows 8, but the feature continues to work on Windows 11. If you’re unsure how to use File History on Windows 11, follow the steps below.
How to Set Up File History on Windows 11
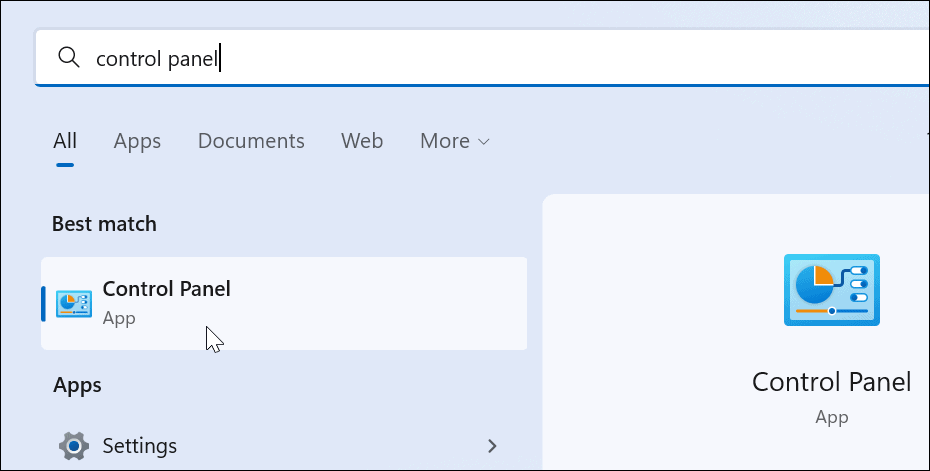
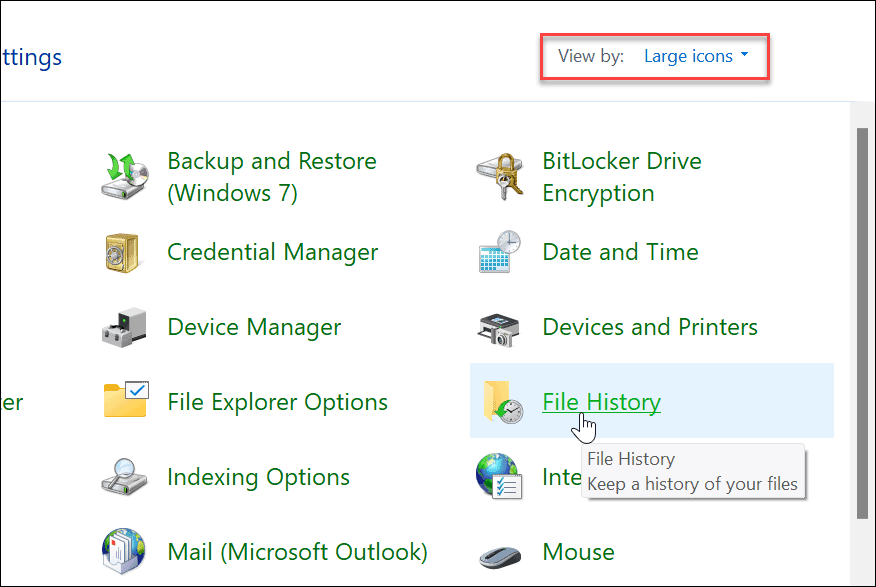
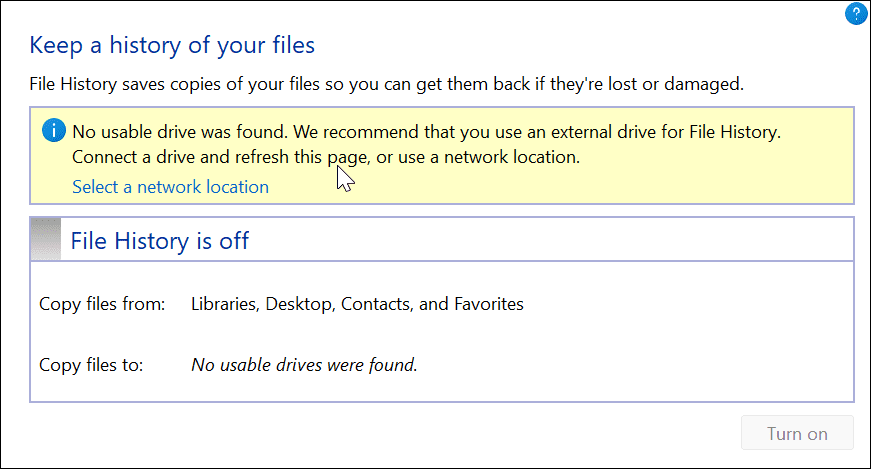
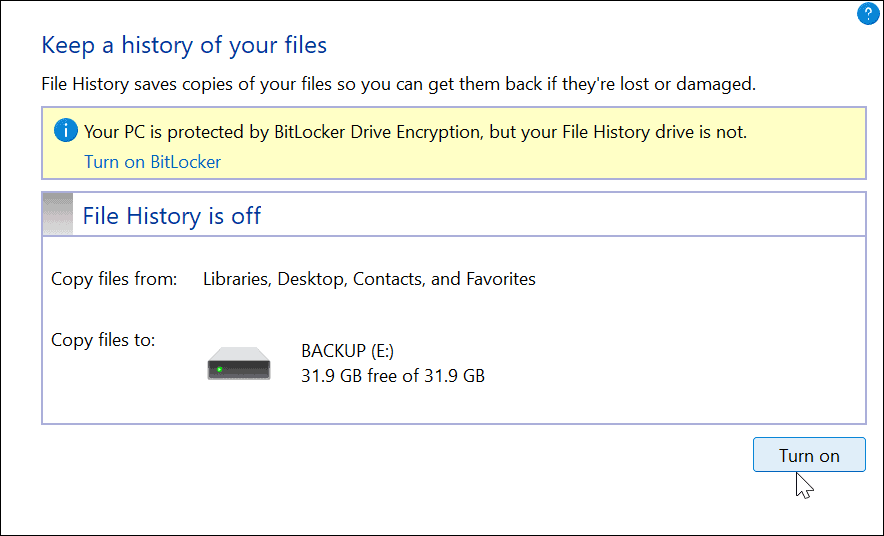
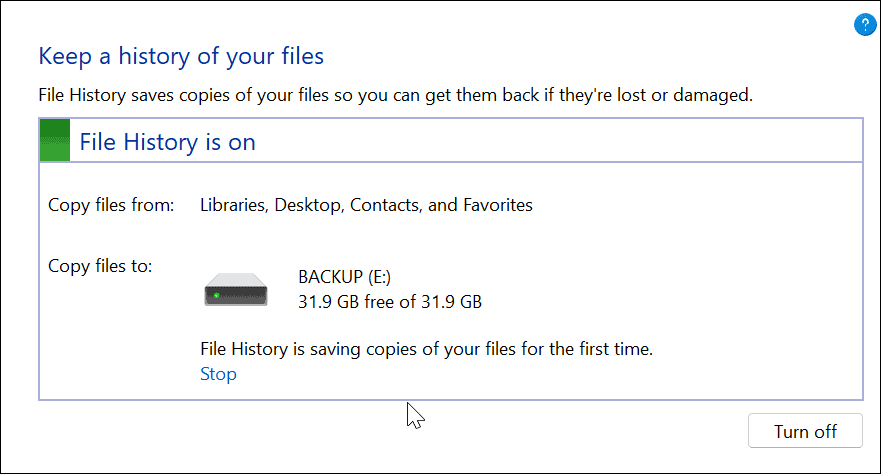
Before you can use File History, you’ll need to configure your PC to make sure it’s enabled and working properly. You’ll need a dedicated external drive to keep the file snapshots for File History in a safe place. If you don’t have one connected, you won’t be able to enable it. To enable File History on Windows 11:
How to Use File History on Windows 11
Now that File History is enabled, it starts backing up files automatically. However, there are some other settings you might want to configure.
Add Folders to File History
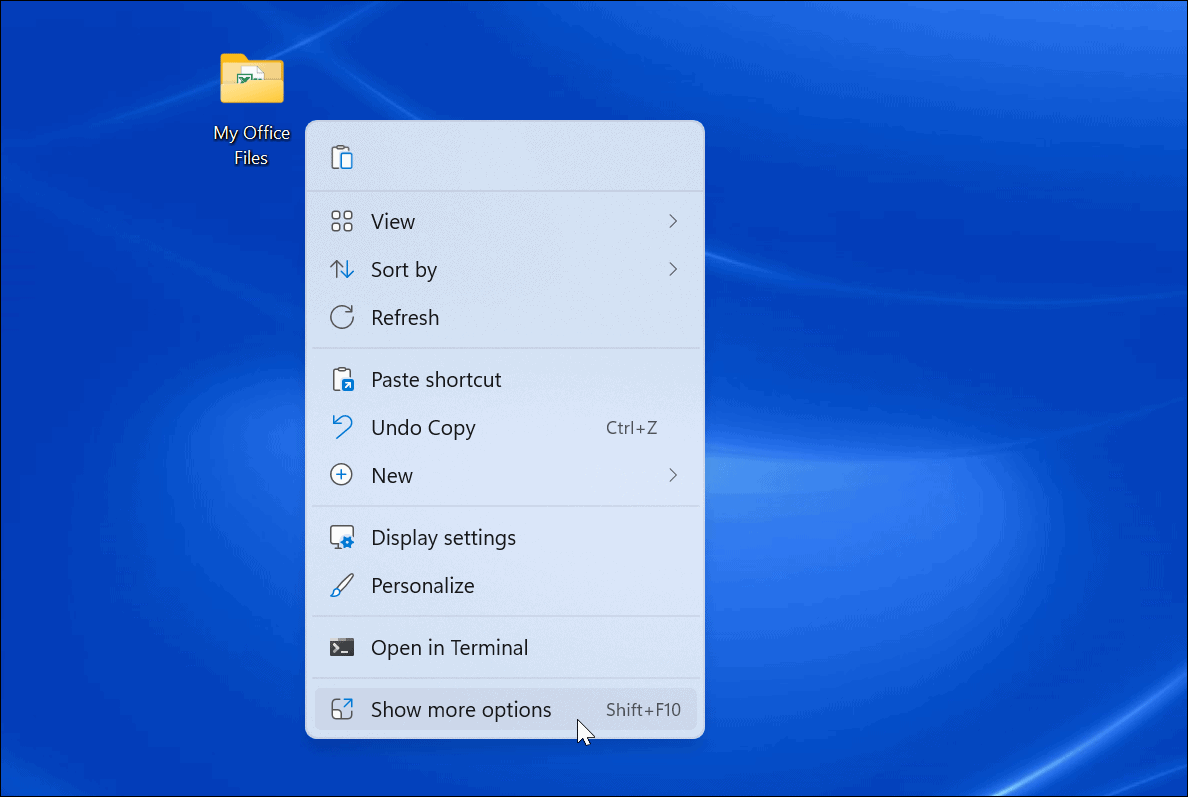
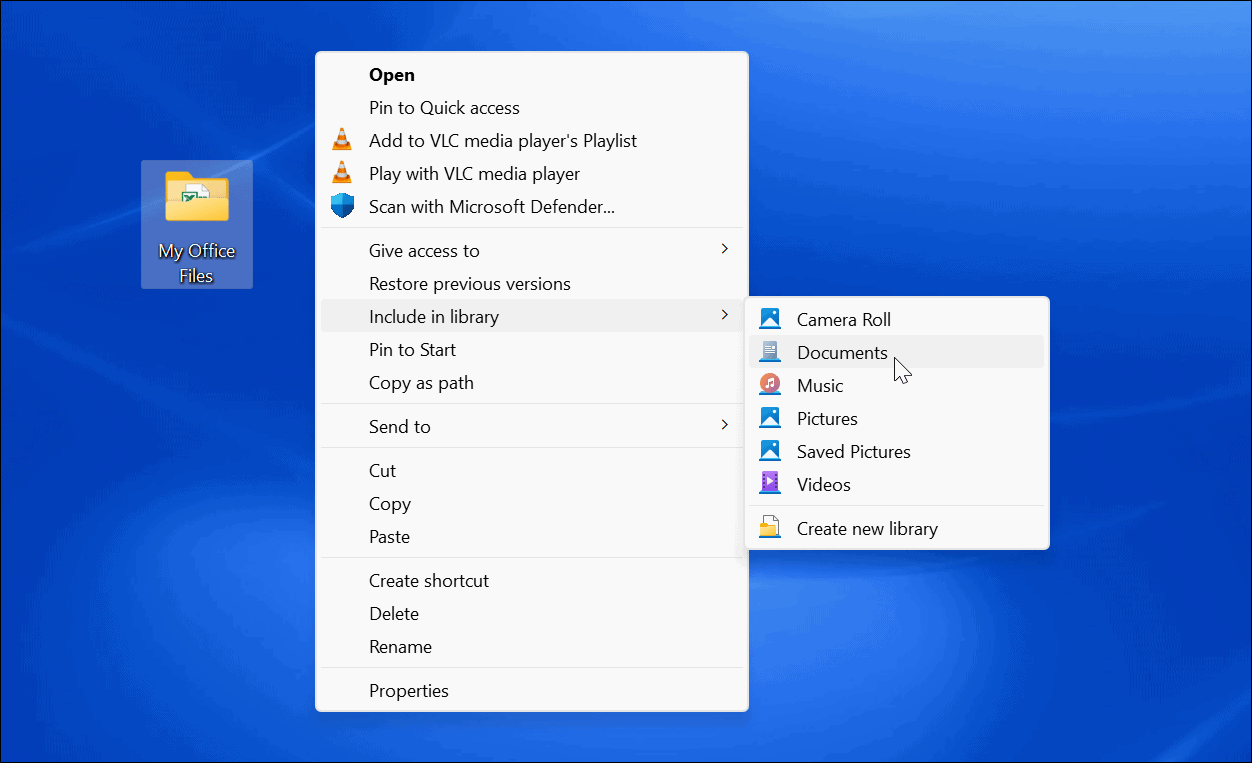
As mentioned previously, File History backs up important folders like Documents, Pictures, Videos, and Desktop by default. However, you can add any folder to back up using File History. You just need to add it to one of those primary libraries. To add folders to File History: Any items you add to the library will begin to back up when added.
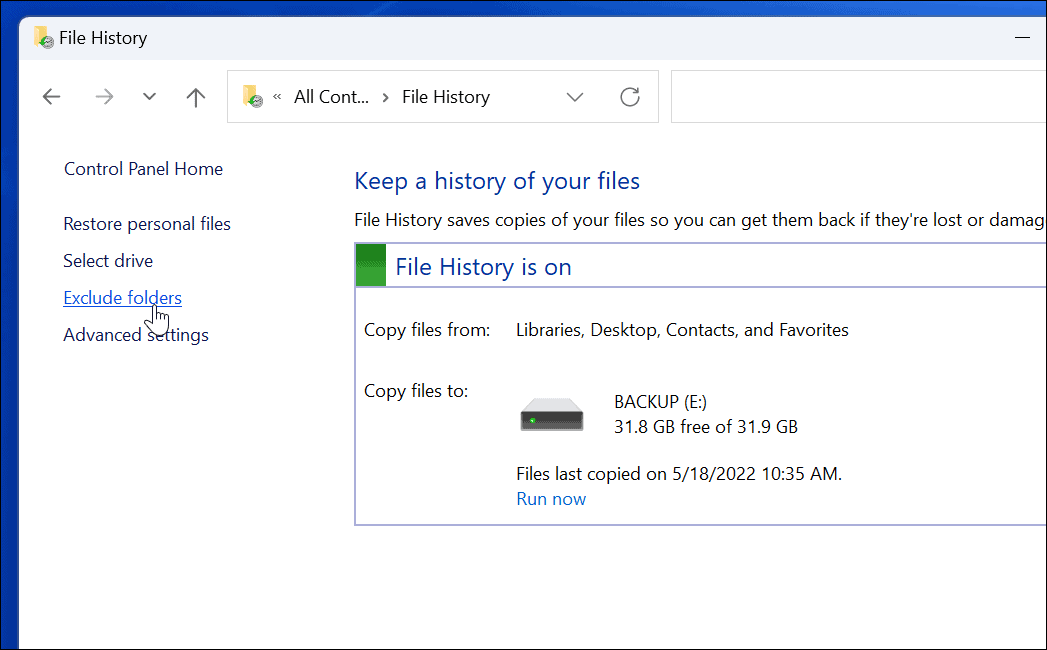
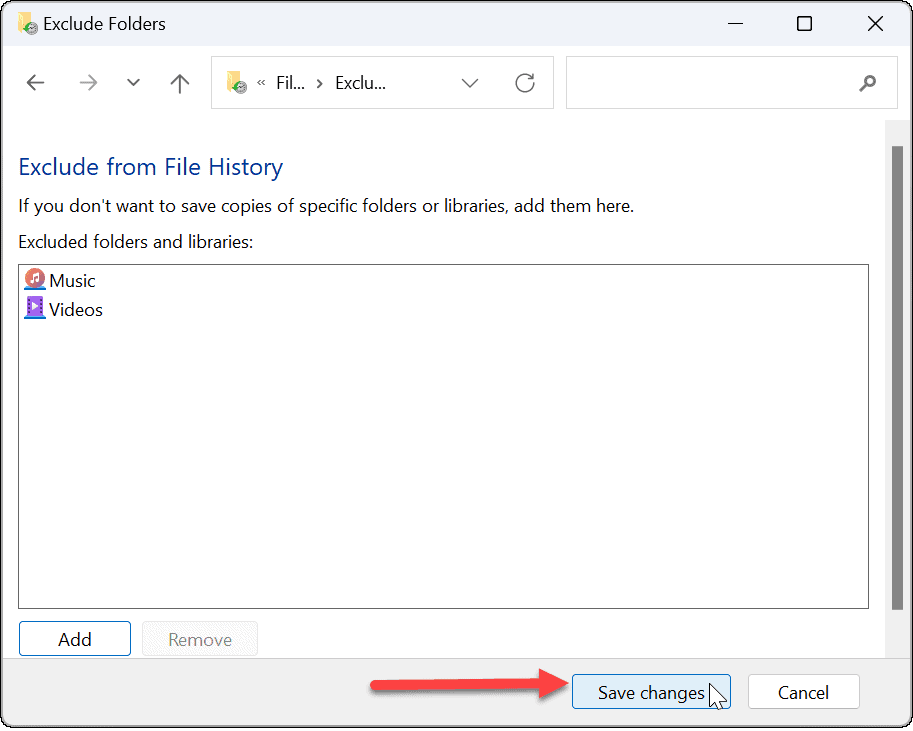
Exclude Folders from File History
There may be times when you don’t want File History to back up a particular folder. Luckily, you can exclude folders from File History. To exclude folders from File History:
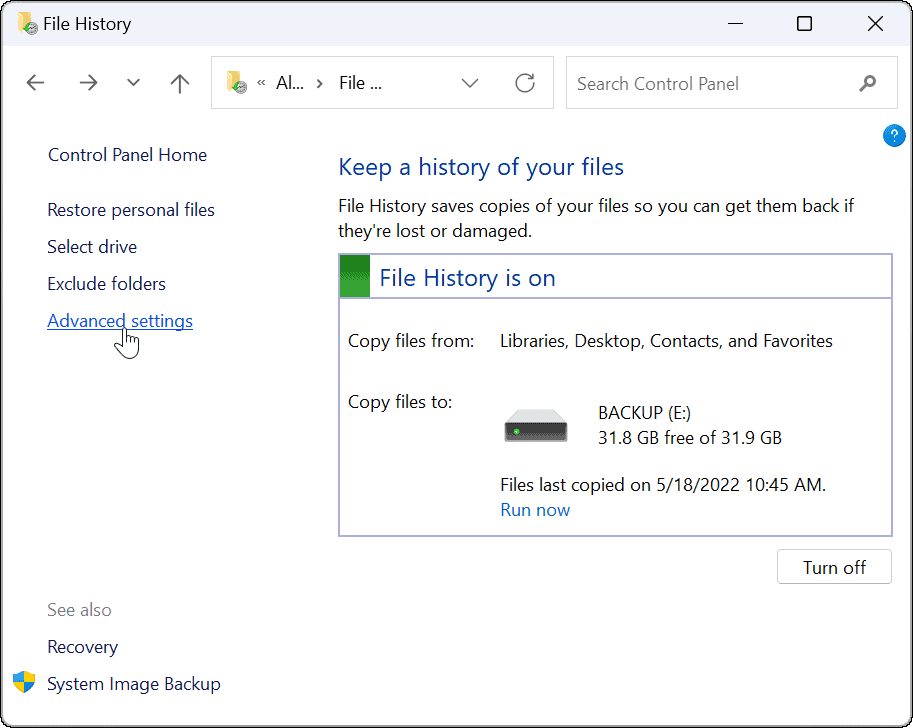
Change Backup Time Intervals
Another setting worth configuring is the frequency at which File History backs files up automatically. You can set it to every few minutes to once a day. To configure File History backup frequency:
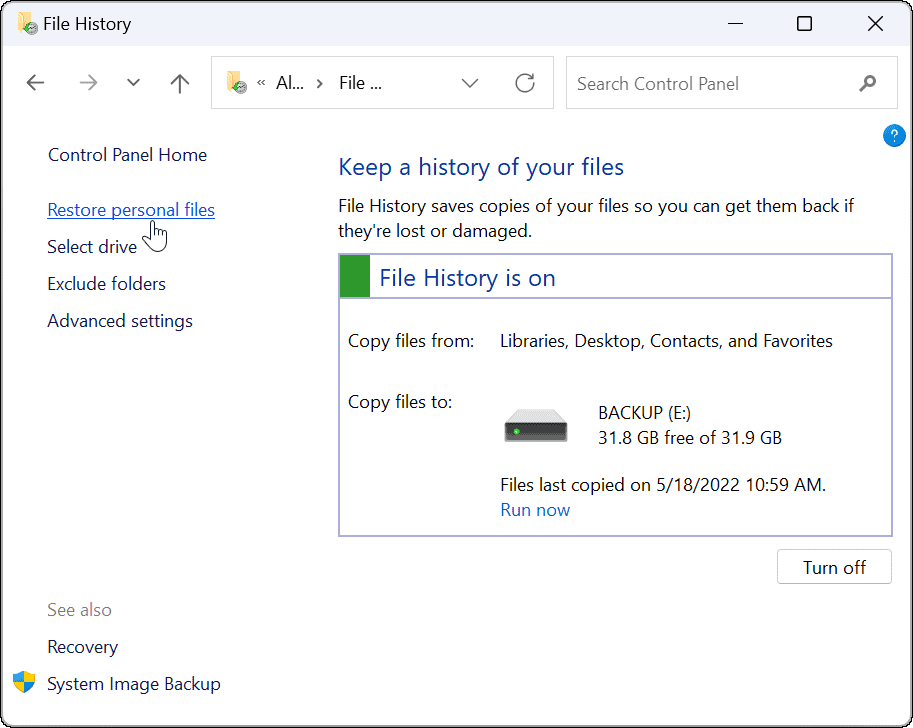
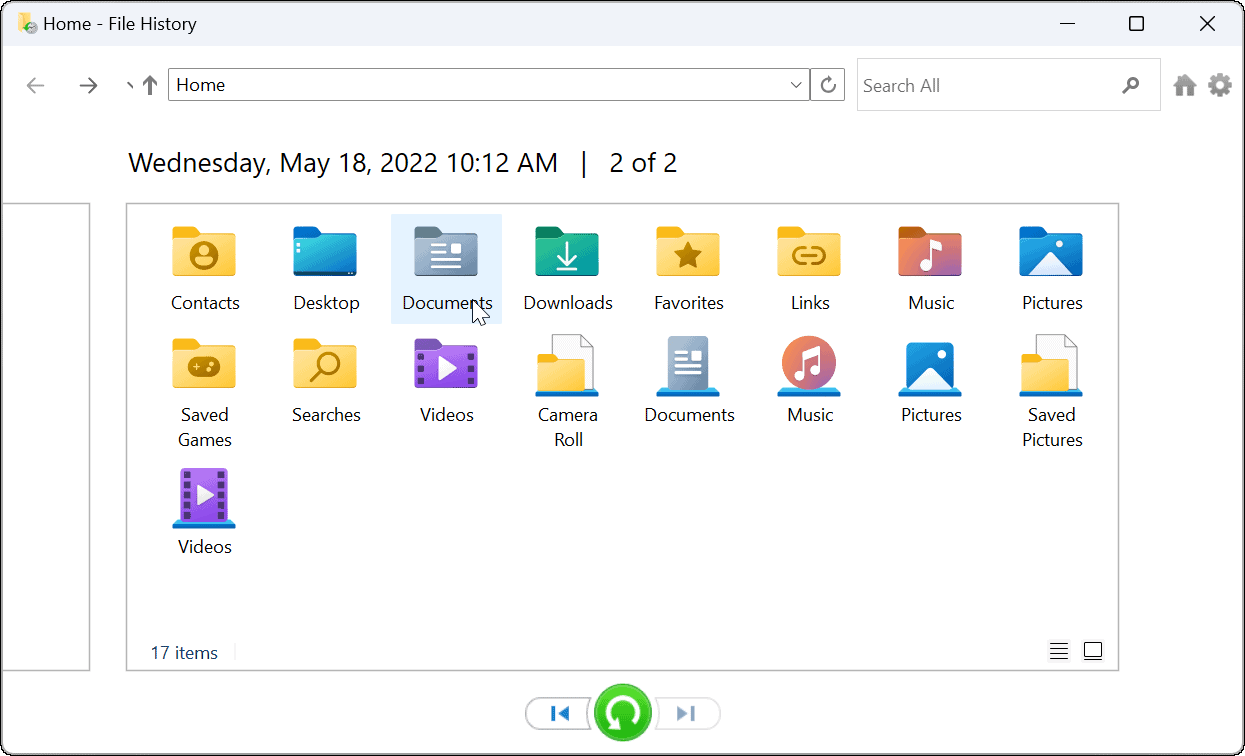
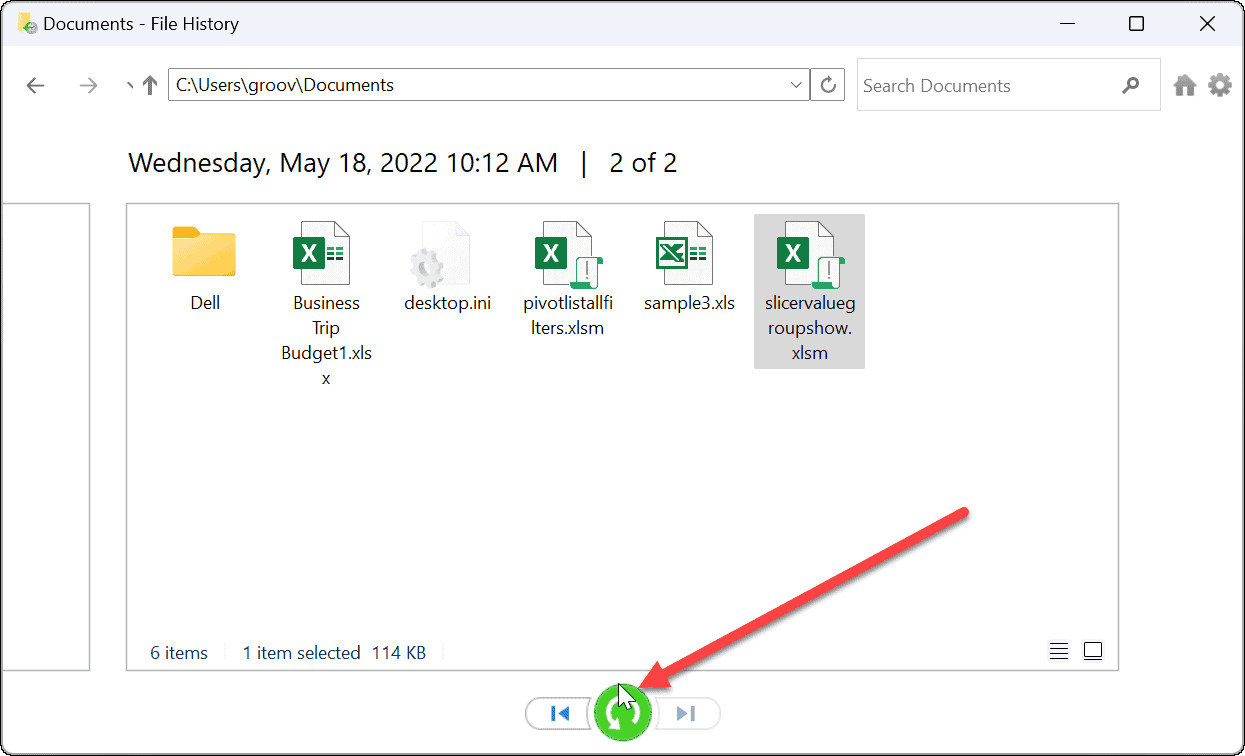
How to Restore Files Using File History on Windows 11
The most important part of the File History features is it allows you to recover files if you accidentally delete them. Since it makes a copy of files, when you retrieve it from File History, some recent edits to the doc may not be present. However, it still allows you to get important files which is the most important thing. To restore a file using File History: That’s all there is to it. Once you restore a file or folder, it’s moved to the original location on your PC, and you can access it like normal.
Restoring Files on Windows 11
While you can sync files with OneDrive, using File History is an additional backup method for your files. It gives you extra peace of mind knowing there are several ways to recover essential items if accidentally deleted. Of course, there are other ways to back up your data on Windows 11. For instance, you can create a full image backup of your PC or create a Restore Point to return your PC to a working state. In addition to the options above, it’s a best practice to ensure you have a third-party online backup solution with a service like Backblaze. If you’re not on Windows 11, no worries. You can also configure File History on Windows 10. Comment Name * Email *
Δ Save my name and email and send me emails as new comments are made to this post.


![]()
