The fact that you’re reading this post tells me that you want to start a blog someday. You’ve got some passion, some cause, or some business you want to delve deep into—and let’s be real, you probably want to make a little money, too. So, I won’t waste words explaining the well-known benefits of starting a blog. Instead, I’m going to make the case that you should go ahead and start your blog today. Why? Because starting a blog is the most important part of creating a successful blog. It’s also the easiest. If you follow the steps here, it’ll take you less than 30 minutes to have a legit blog up and running. Look, as someone who’s been making a healthy income from various blogs for about ten years, the single piece of advice I’d give to someone is this: just start blogging. I’ll admit that I’m not as much of a blogging guru as groovyPost.com founder Steve is. But I can tell you that the secret sauce to his blog is that he’s been doing it for years and years. Sure, at this point, he employs various blog marketing and monetization strategies that help the site’s performance, but at the end of the day, what matters most is that he decided to start the blog, and he’s kept a consistent publishing schedule for over 10 years! The way I see it, blogging is a lot like exercising. It’s that thing that we feel like we should be doing. We know it’s a good thing to be doing, we know that it’ll make us feel good about ourselves, and we are secretly envious of those we know who are doing it already. We keep telling ourselves that we’ll start tomorrow, or next weekend, or next month. But then, all of a sudden, it’s a year later, and we haven’t started yet. Which is crazy, right? There’s never a time when you can’t start. You could totally put on a pair of tennis shoes right now and go for a jog. Starting a blog is even easier than that. And it’ll take less time than a 3-mile jog. So, right now, let’s give your future self a little gift and start a blog right now!
Step-by-step: How to Start Your Blog Today in 30 Minutes
In this tutorial, I will show you how to start a blog with your own domain name and a hosting plan from Bluehost. This post may seem a little lengthy, but each step along the way is effortless and straightforward. In fact, it seems unfair. When I first started, setting up a blog and a website was a pain. Unless you paid someone to do it, you had to learn all sorts of technical stuff—HTML, CSS, PHP, MySQL, and all the ins and outs of domain name servers and web hosting. Nowadays, you don’t need to know any of that stuff. If you can click a mouse and type on a keyboard, you can tackle each of these steps easy:
Pick an awesome domain name
Your domain name is your address on the web — groovypost.com, for example. Normally, you want your name to be unique and generally describe what you will be blogging about. Being your first blog, my advice is to come up with a shortlist of 3-5 names, rank them in order. And remember, you can always buy a new name and start a new blog if you decide you want to go in a different direction. Professionals will also tell you to put high-value keywords into your domain name so that Google will rank you high for those relevant terms. For instance, if you wanted to start a tech blog with how-tos, news, and reviews, you could call it something like groovyPost.com. Oh, wait… Yeah, there aren’t any relevant keywords in that URL… Here’s the thing about putting keywords in your domain name: it doesn’t matter that much. It matters some, especially when you’re starting. Google is smart enough to figure out what your blog is about without relying on your domain name. More importantly, calling your blog something like OrangeCountyWeightLossClinic.com or PittsburghSandwichReviews.com makes your site look spammy, difficult to type, and most importantly, difficult for your readers to remember. So, here’s my advice: pick something fun, short, and easy to remember. Something personal. And, of course, something available as a .com or .org as applicable. You can check to see if a domain name is available by typing it into your address bar and seeing if anything shows up. Or, you can use Bluehost, your one-stop shop for starting a blog. There you can check on availability and get suggestions when you sign up below.
Choose a Hosting Provider and Domain Registrar
There are two parts to your blog or website: your web host and your domain registrar. Your web host provides the actual server space for where your website lives on the internet. Your domain registrar is where you buy the domain name for your website and then registers you as the owner of that name. There are hundreds of hosting providers and domain registrars. You can comparison shop if you want. But I’ll tell you right off the bat what I recommend: The rest of this tutorial, including screenshots, will assume that you’ve taken my advice on points 1 and 2. So, let me add point #3: Bluehost makes setting up a WordPress blog super easy. It takes a few moments to figure out, but it has virtually limitless potential in customization and advanced functionality. WordPress will meet your needs whether you’re a hobbyist with zero tech knowledge or a full-time web publishing tycoon. It’s 100% the way to go if you’re starting your first or 100th blog/website. And yes, groovyPost.com runs on WordPress. So, with that being said, let me walk you through how to get started.
Getting Up and Running with Bluehost Hosting
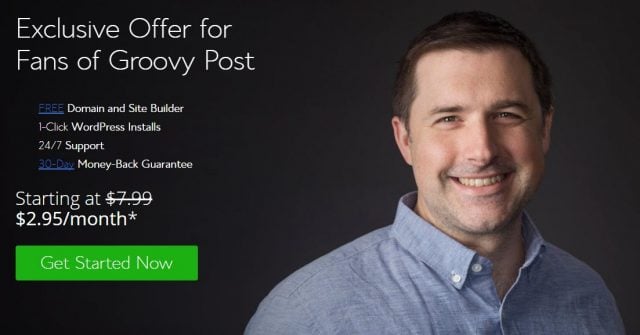
The first thing we need to do is head over to Bluehost. Better yet, click our Bluehost affiliate link to start the process. Why? I’ll give you three reasons why. Once you get there, you’ll find a big green Get Started Now button or something along those lines. Click it.
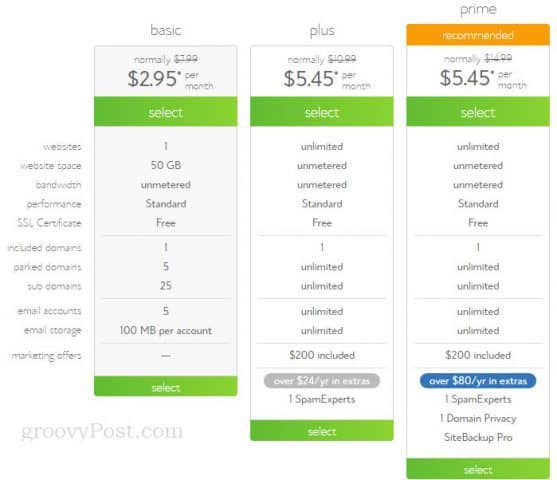
From there, you’ll be shown three plans. Choose the basic plan for now. It has everything you need to get started, and you can always tack on the other things when you figure out what the heck they are (let alone whether or not you need them).
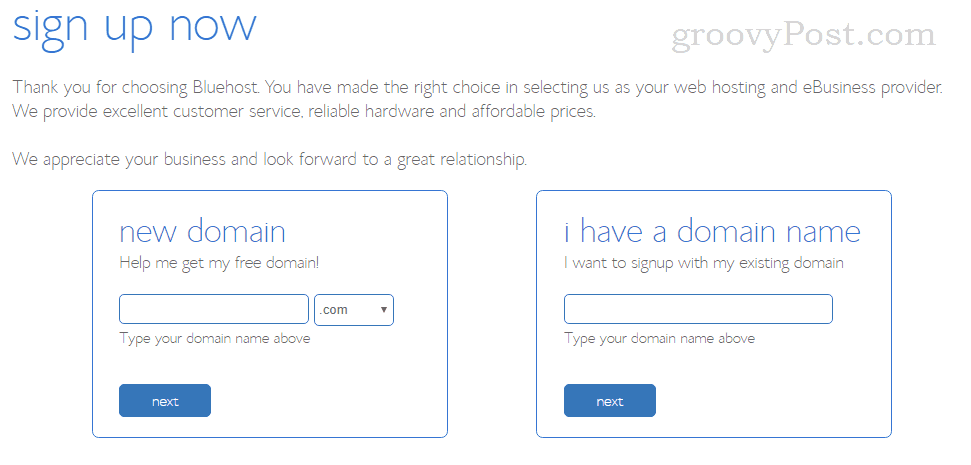
On the next screen, you’ll have the option to register a domain name through Bluehost or use an existing domain name. It’s much easier to register a new domain name with Bluehost, so I highly recommend doing that.
Hopefully, you’ve already settled on a domain name and confirmed that it’s available. Go ahead and plug your domain name into the new domain box and click Next. Make sure you don’t make any typos.
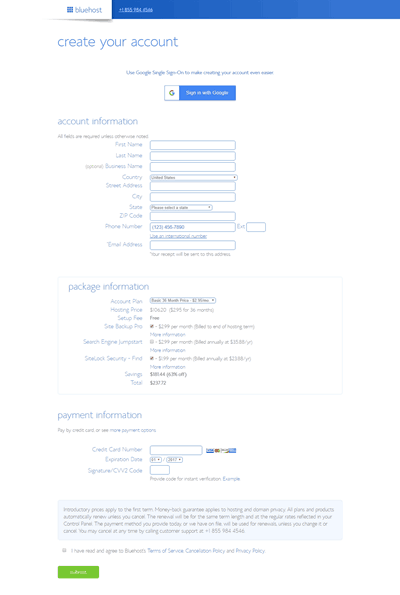
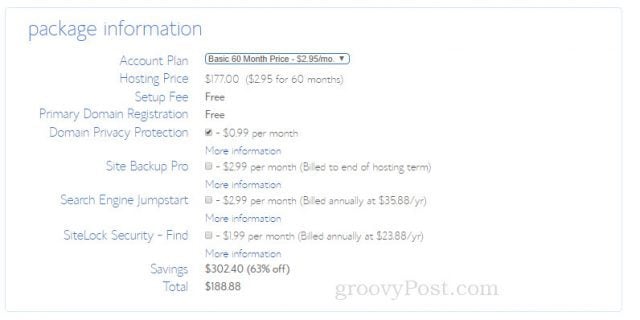
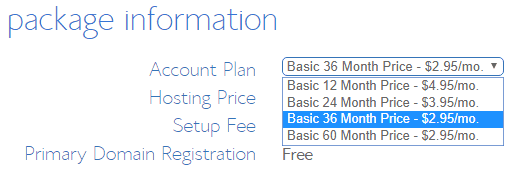
The next screen asks for your payment and contact information. Most of this page should be fairly self-explanatory—I won’t walk you through typing in your address and credit card number. One part I’d pay close attention to is the package information section. This has several add-ons and upsells that affect your savings and total at the end. What you see will depend on the plan you picked. You can decide if you need any add-ons, like Site Backup Pro or SiteLock Security – Find by reading the More information they provide. My recommendation is to save those things for later and stick to the account plan unless there’s something specific you know you want and need. One thing I would sign up for now is Domain Privacy Protection. It’s only $0.99 a month, and it prevents your name and contact information from showing up in whois searches. You’ll pay a lower price on the Account Plan if you buy more months of hosting upfront.
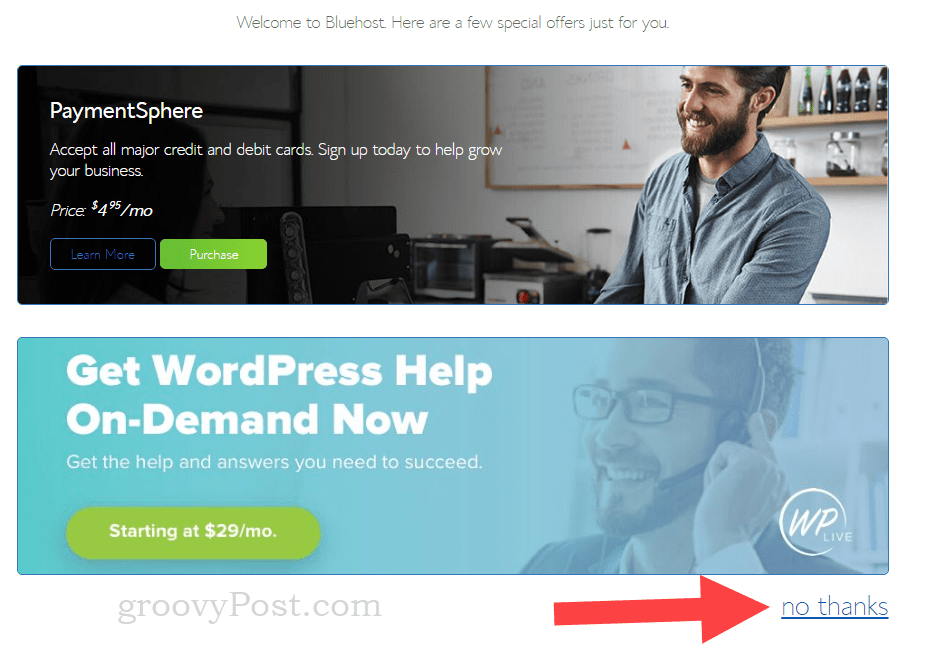
After you enter your information and click Submit, you’ll get some more offers. You might see an ad for WordPress Help On-Demand, or WordPress setup help. Go ahead and say no thanks to that. For one, setting up WordPress isn’t that hard. And for another, you’ll have me to help you for free :-p
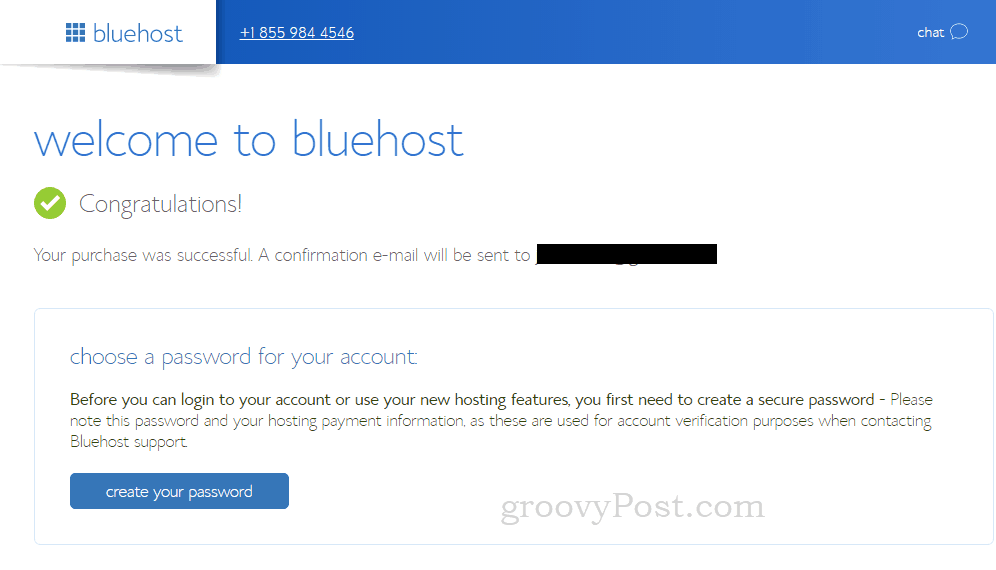
On the next page, you’ll have a purchase confirmation. Bluehost will also send you an email. The next step is to create your password for your hosting account. Scroll down and click create your password.
Follow the instructions on the next screen to choose your password. Need help making a strong password? Check out our tutorial: How to Create an Easy to Remember STRONG Password.
Install WordPress on Your Bluehost Site
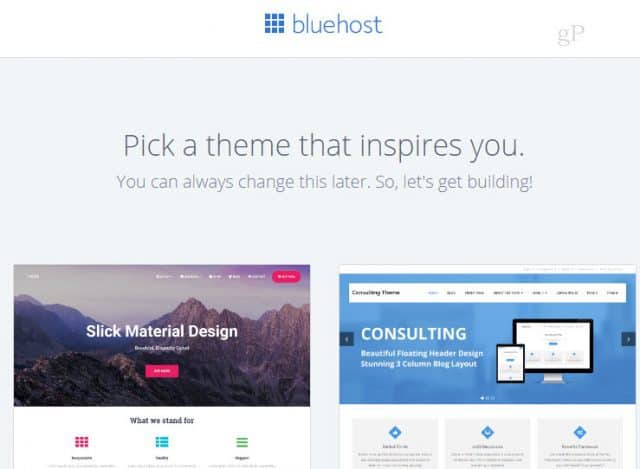
Once you’ve created your password, something magical and mystical will happen. Bluehost will automatically install WordPress for you. Yes, a task that used to take hours and a moderate helping of technical knowledge happens completely automatically. After making your password, WordPress will be installed on your site, and you’ll be prompted to choose a theme.
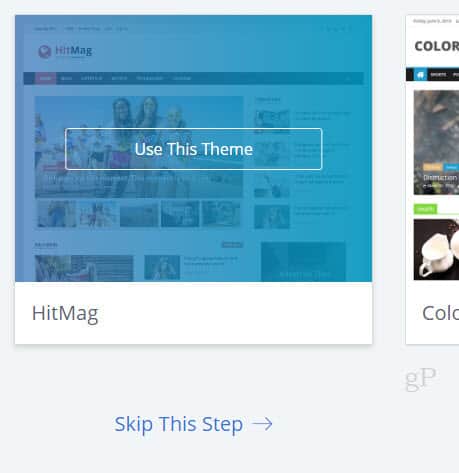
As the page says, you can always change this later. And I personally like the default WordPress theme. For now, you can go down to Skip This Step –>
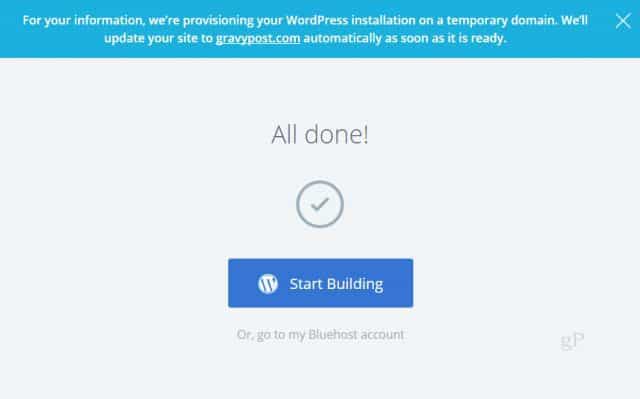
When you pick a theme (or skip that step), Bluehost will start setting up WordPress. The process happened so quickly for me I didn’t have time to take a screenshot. On the next screen, you’ll see a Start Building button. Also, you may see a notification like the one I got, saying that my WordPress installation was being set up on a temporary domain. This is just while Bluehost gets things sorted out with the domain registration. Since Bluehost is in control here, there’s nothing special you need to do. Just go ahead and click Start Building.
Getting Started with WordPress
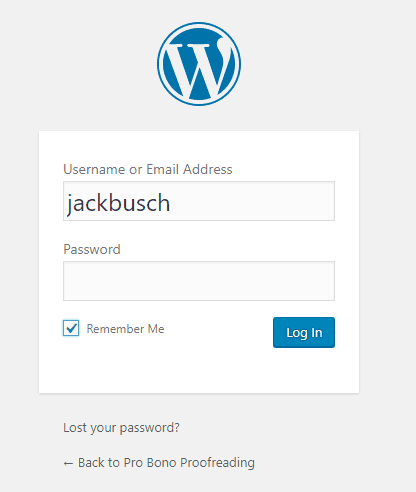
If you’re not already logged into WordPress, go ahead and get there. Go to your WordPress admin URL (probably yourdomain.com/wp-admin) and log in.
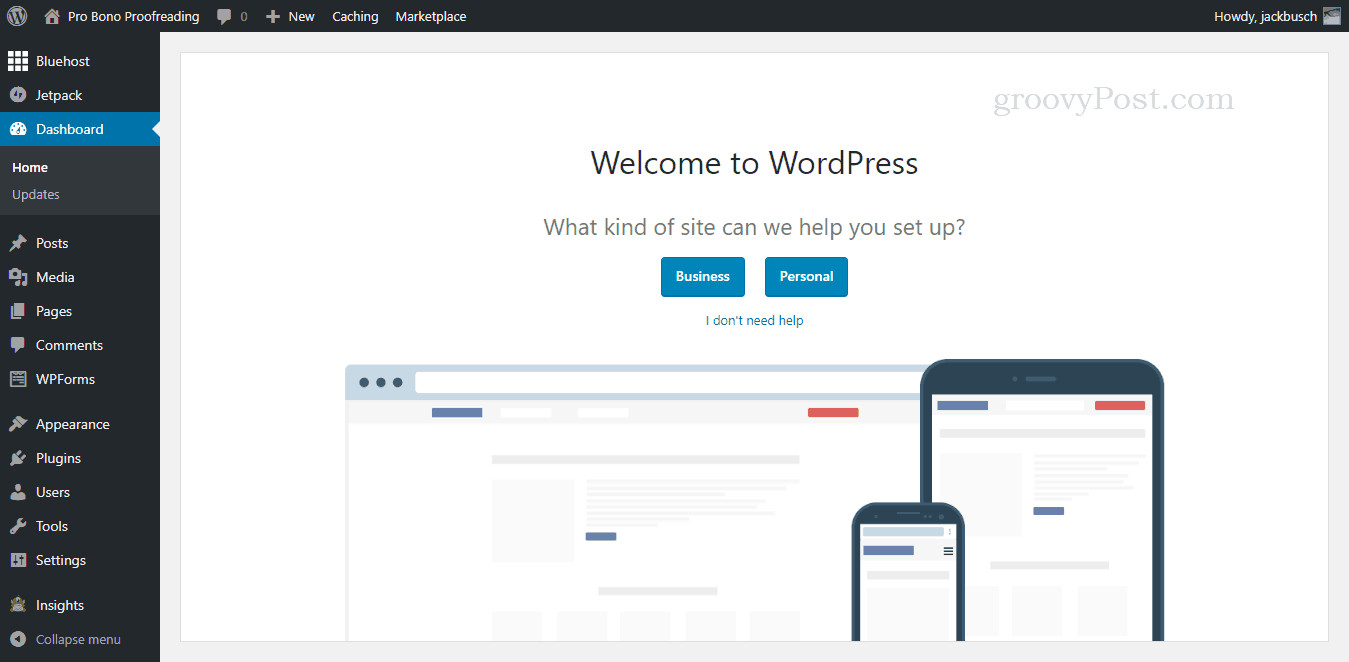
Once logged in, you’ll be greeted with a tutorial on your Dashboard. You can follow this if you’d like, or you can keep reading, and I’ll walk you through the basics.
Looking along the left side of the screen, you’ll see that there are a million things you can do to tweak and configure your WordPress site. I recommend exploring all the options whenever you have time. But for now, I’m sure you’re eager to get some content published. So, at a bare minimum, here’s what I’d do.
Complete Your WordPress Profile
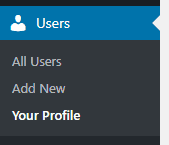
Start by setting up your user profile. Go down to Users and then Your Profile.
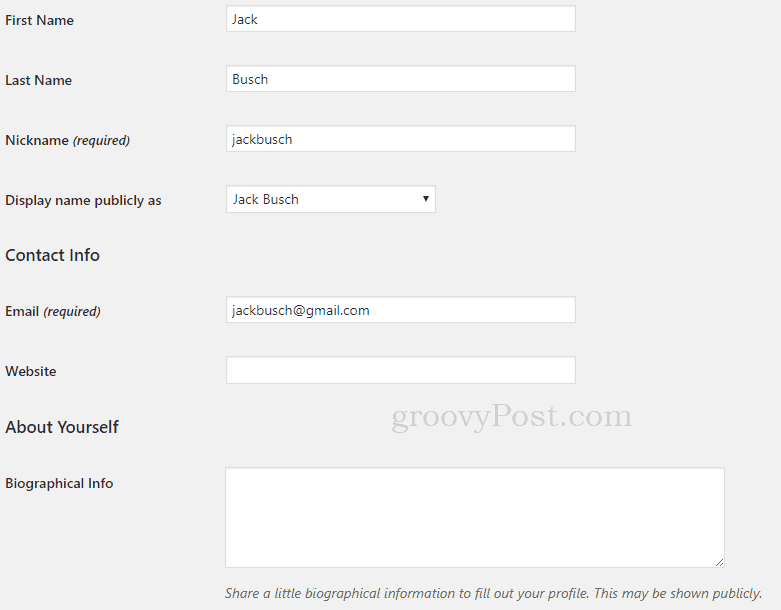
On the Your Profile page, fill in your basic information. This is what will be shown on your bio page and byline for your posts. When you’re done, click Update Your Profile.
Customize Your WordPress Theme
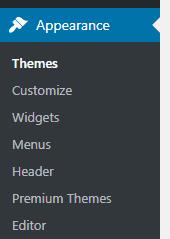
Next, let’s personalize your blog a little. Hop on over to Appearance and then Themes.
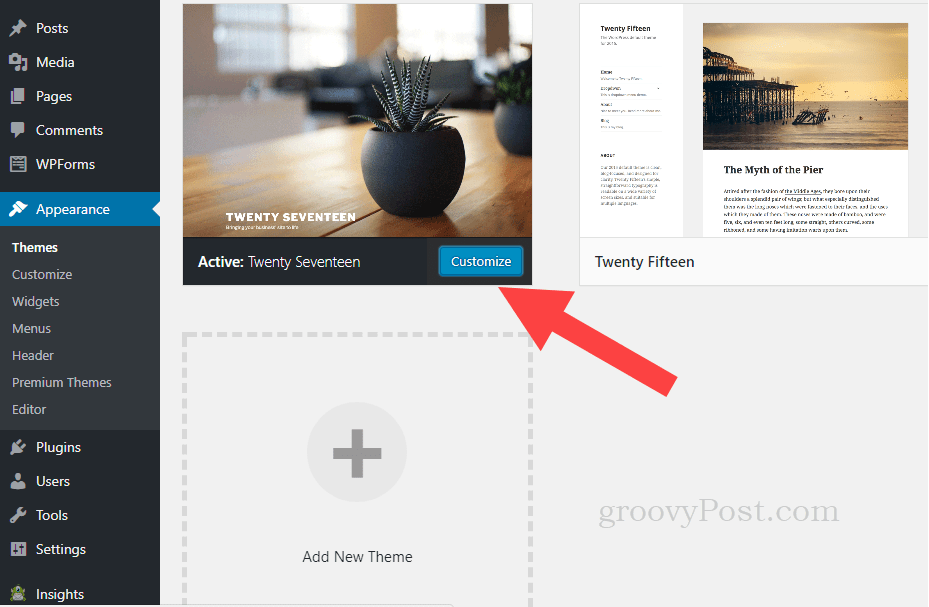
Now I know what you’re thinking… A WordPress theme is a pre-built skin that controls the look and feel of your blog. Changing your Theme is super easy, but my recommendation is to use one of the themes included with your fresh install from Bluehost. The developers of WordPress design the default theme; it’s named after the current year (e.g., Twenty Seventeen). It’s a basic theme that works well with all of the available WordPress features. And in most cases, it’s perfect for your first blog since it’s simple, clean, and optimized for search engines to pick up your content. If, however, you want to start things off a bit more professional with a premium WordPress theme that comes with advanced options, my suggestion is Divi from Elegant Themes. That said, if this is your first blog, stick with the default theme for now. The only thing you need to do is customize it a bit to make it your own. To do that, click Customize next to your active theme.
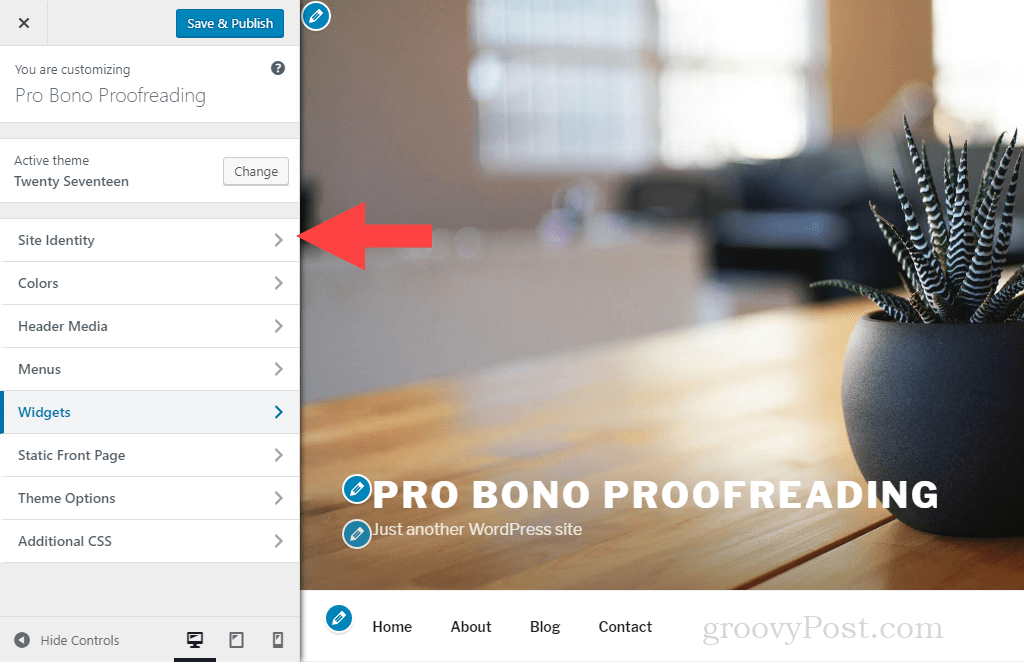
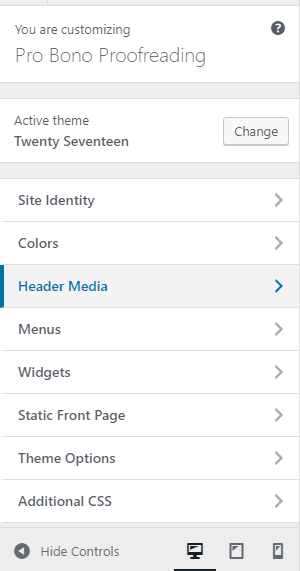
Once you get to the theme customization page, you’ll notice a ton of options to tweak. If you have all day, you can go through each one and fine-tune it to your liking. But if you have just a few minutes, make a beeline to Side Identity.
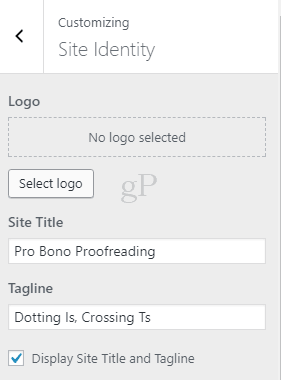
Change your Site Title and Tagline. You can leave the tagline blank if you can’t think of anything pithy at the moment. Click the back arrow when you’re done.
Next, go to Header Media. Here, we can change the site’s header image to something more personalized.
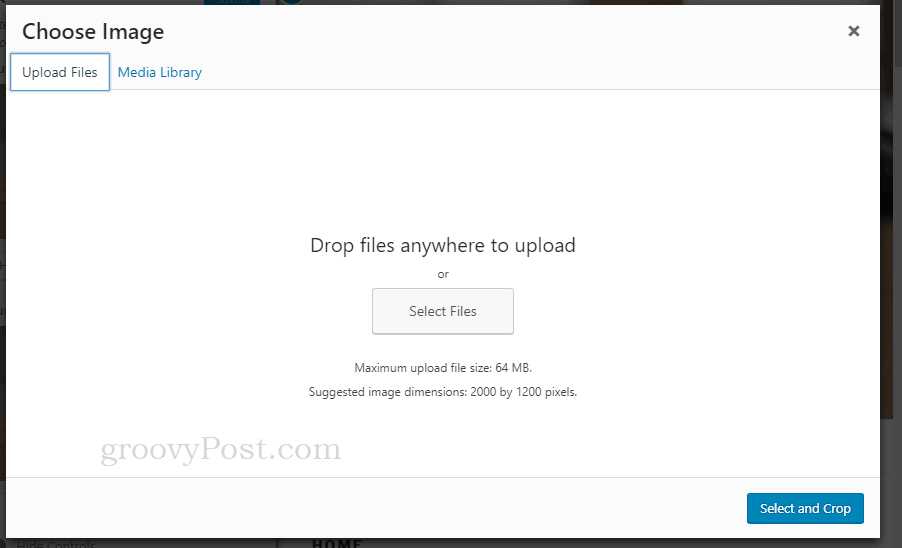
Scroll down to where it shows your current header image and select Add new image. Don’t have a good header image? Check out unsplash.com for free high-resolution photos you can use for free.
In the Upload Files tab, click Select Files to browse for your new header image.
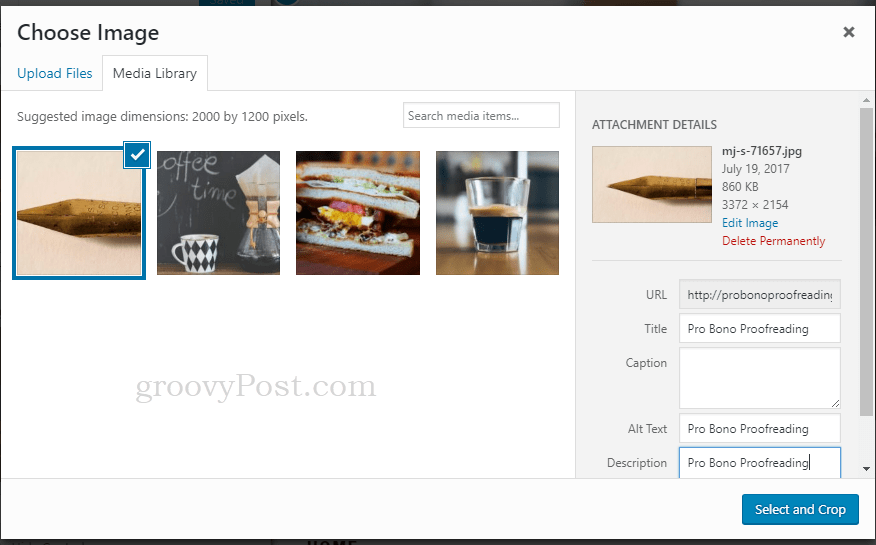
After it uploads, please select it and fill in the Attachment Details on the left. These are completely optional, but I recommend giving it a title, alt text, and description at a bare minimum. This will be helpful for search engines in the long run (and you, too, if you plan on reusing your images and want to search for them by keyword). When you’re done, click Select and Crop.
Crop your image and then click Crop Image. Next, click Save & Publish, then click the X to finish customizing your theme.
Edit Pages and Make Your First Blog Post
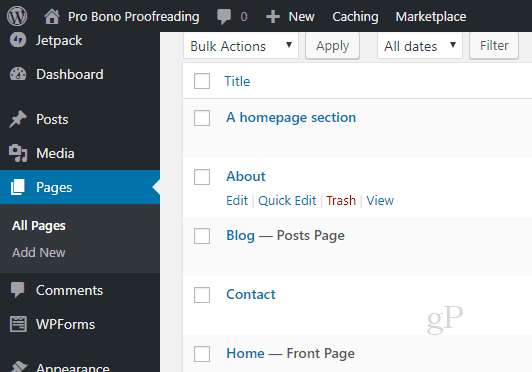
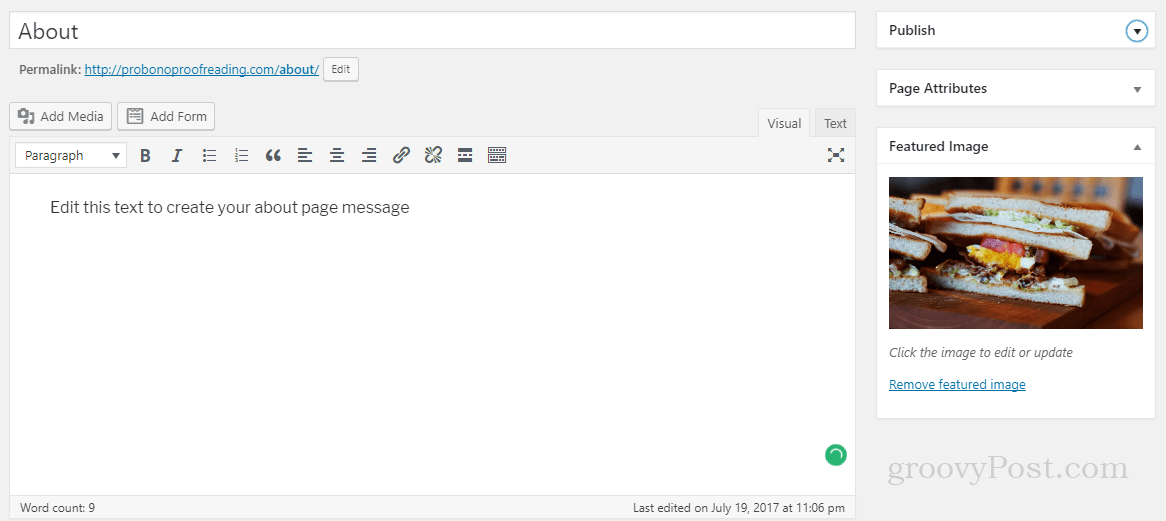
We’re almost there. Now that we’ve changed up your blog’s default look and feel, you can edit the boilerplate text in the default pages. Click on Pages. This will show you the pages that already exist on your blog. These are static pages that are separate from posts. These consist of the usual things you’ll see in a navigation menu on a website. At a minimum, go into your About page and click Edit to change the wording there. You can either edit or delete the other pages altogether (but don’t delete your Blog page!).
To edit a page, change the text for the title and the body of the age. Over on the right, you’ll also want to change the Featured Image.
You can change this text later if you can’t think of anything to put here. The important thing is to get rid of the default text. When you’re done, go to the Publish section and click Update.
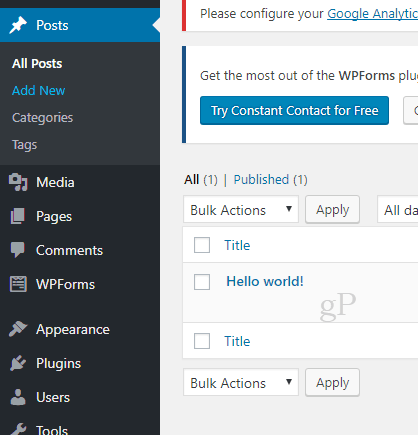
After you’re through editing your pages, it’s time to make your first blog post. On the left, go to Posts. You’ll see the sample “Hello world!” post listed. You can either delete it or edit it. If you want to start fresh, click Add New.
Type up your brilliant blog post. Or, if you’d rather, write your blog post using Microsoft Word. When you’re done, click Publish.
Go Live with Your WordPress Blog
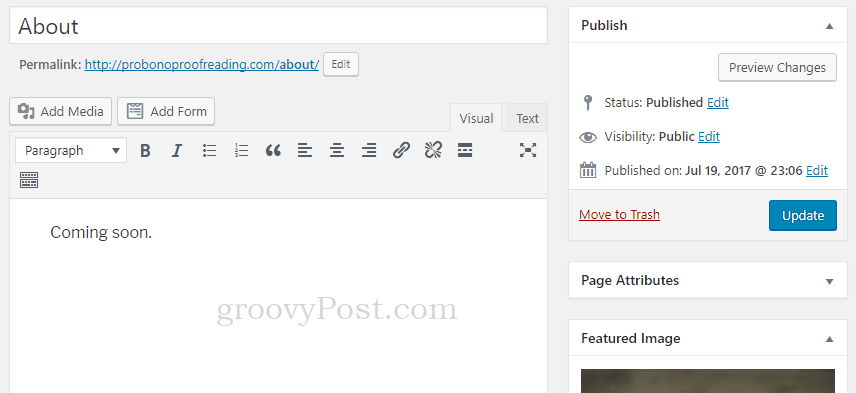
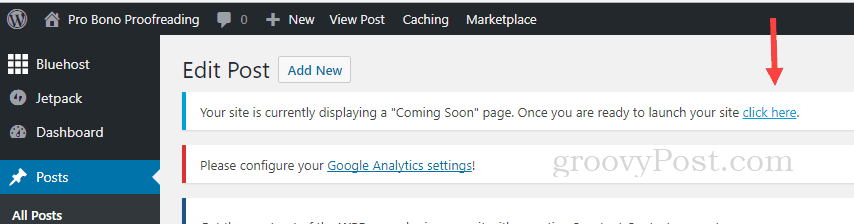
Now, there’s one more step before you go live. Because your site is brand new, it’ll display a “Coming Soon” page to anyone who isn’t logged in (i.e., anyone who isn’t you). When you’re ready for the world to see your post, look for the banner at the top that says Your site is currently displaying a “Coming Soon” page. Go ahead and click here.
Once you’ve done that, you’ll get confirmation that you’re live.
Congratulations, you have a blog.
Now what?
You did it! You created a blog. You are now a blogger. So, what next? Really, you have everything you need to keep going. Just keep posting and keep creating content. As you become more experienced and comfortable with the platform, you’ll start coming up with questions:
How do I add plugins to my website?How do I start making money from ads on my website?How do I join an affiliate program and earn revenue from my blog?How do I land sponsored posts?How can I market my blog using social media?How can I build an email list and make money from it?
You can research the answers to those questions as you have them—there are tons of resources available, and of course, here at groovyPost, we’ll be tackling those topics as well. But now that you’ve done the most important thing—starting a blog—your next step is to keep blogging. Subscribe to our newsletter to catch all our WordPress and blogging topics as soon as they’re published. And if you have something you want us to cover or just a general question, feel free to shoot me an email. I enjoyed reading your guide to establish a Blog, which I am wanting to do. I am interested in all things humanitarian and also pets, such as my three dogs (please don’t tell my local council) and two cats !!!! That information is highly prized by my local Fraser Coast Council, Queensland, Australia. It would have the Counsellors chopping at the bit. More revenue they would say…….Great, another way to squeeze the dollars out of local residents. They don’t care that they are currently being investigated by the Federal Government’s Crime and Corruption Commission. They wouldn’t worry about this either, as to be able to get away with what they have so far, one has to know someone in high places. For example; the ability to stash hundreds of thousands of dollars, in a slush fund of residents money, that even the Council accountant didn’t know existed!!!!! Anyhow Jack, enough of the local crooks, thank you again for the information on how to establish a blog page. Comment Name * Email *
Δ Save my name and email and send me emails as new comments are made to this post.


![]()
