Clean Install Windows 11
Make sure you have a digital image or (ISO) of the new operating system to get started. You can install it via a USB drive or DVD if you still happen to still have one of those included on your device. Note: For more on creating installation media, read our article on creating a Windows 11 bootable USB drive. The installation process is straightforward and begins like versions of Windows before it. You will be asked to select your language, type in an activation key, choose the edition you want to install, etc.
Once you go through those familiar steps, you’ll be greeted with a new setup wizard to work through. First, you’ll need to verify your country or region and click Yes.
Now, verify the keyboard layout or input method and click Yes.
Next, it will ask if you want to add a second keyboard layout. You can skip this step if you don’t need it.
Windows will then check for updates. The amount of time this takes will vary between machines and your connection speeds.
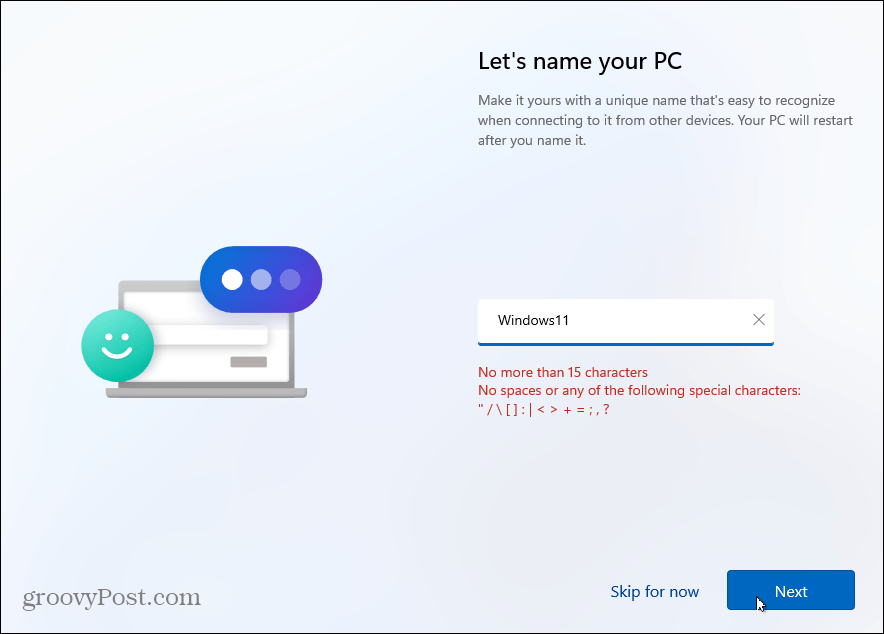
Now, it’s time to name your machine—type in whatever name you want to give it. Remember that it cannot include spaces, special characters, or be longer than 15 characters. If you don’t like the name or want to skip this step, you can rename it later.
How You’ll Use Your PC
The next screen will ask you how you want to set up this PC. You can choose to set it up for personal or work and school use. If you plan to use it at home, use the “Set up for personal use” option. A work or school computer? Use the “Set up for work or school” option. If you are in an office or school environment and aren’t sure, check with your organization’s IT admin.
Sign-In Options
Now you need to type in your sign-in option. If you are running the Windows 10 Home version, you must use a Microsoft account to set it up. Pro users can create a local account. For this tutorial, we’ll use a Microsoft account. But we’ll have more on setting up a local account in a future article. If you don’t have a Microsoft account yet, you can click the link to create one from this page. You can also sign in using a security key (we’ll also have more on that in a future article.)
Next, type in the password for your Microsoft account and click the Sign in button.
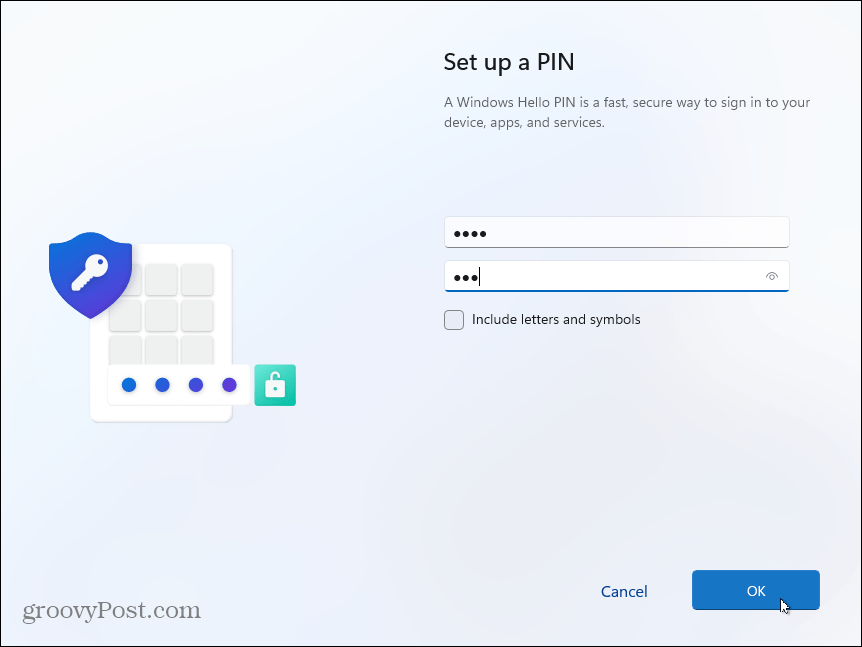
The setup wizard will then ask you to enter a PIN for logging in. If you want to make it a stronger, complex PIN, click the “Include letters and symbols” box. That allows you to create a PIN with letters, symbols, digits, and special characters.
Syncing Data from Other Devices
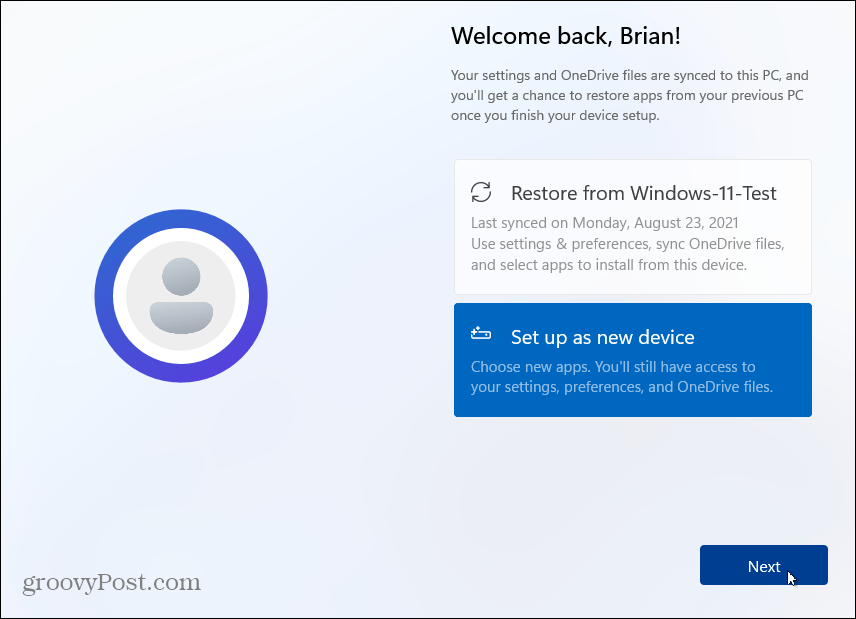
Now you have the option to restore files from OneDrive on another Windows 11 PC you’ve set up. Or you can create it as a new device. In this example, I’m setting it up as a new PC. But if you want files synced to OneDrive, select that option.
Privacy and Security
On the next screen, you have the option to turn privacy features on or off. Everything is enabled by default, so turn off what you don’t want Microsoft to track, like Location or Diagnostic data, for example. Don’t worry; you can manage privacy settings later if you forget to turn something off (or leave it on).
If you want to change privacy settings after installing Windows 11, go to Settings > Privacy & Security and make adjustments for Windows and app permissions.
Customize Windows 11 Experience
Next, you can select the ways you plan on using the device. You can select things like Entertainment, Gaming, Business, and more. You can also skip this page if you want to set things up later.
After a few moments, Windows 11 will check for updates again and start setting itself up. While it’s getting ready, you will see images that explain what you can expect from the new OS. You will get a glance at features like Widgets, Teams Chat, and the new Windows Snap Layouts feature, and more.
Once installation is complete, you’ll be presented with the lock screen. Click on it and sign in using the PIN or other sign-in option you created. And now you can start using your fresh installation of Windows 11!
Once you get started, a few of the first things you might want to do is move the Start button to the left. Or perhaps customize the look by changing the Start menu and Taskbar colors. And if you want the “old school” tools, take a look at pinning the Control Panel to Start or the Taskbar. Comment Name * Email *
Δ Save my name and email and send me emails as new comments are made to this post.


![]()
