Whatever the case, whether it’s for helpdesk support or equipment inventory, here’s how to find the serial number the easy way.
Find PC’s Serial Number via Command Line Prompt or PowerShell
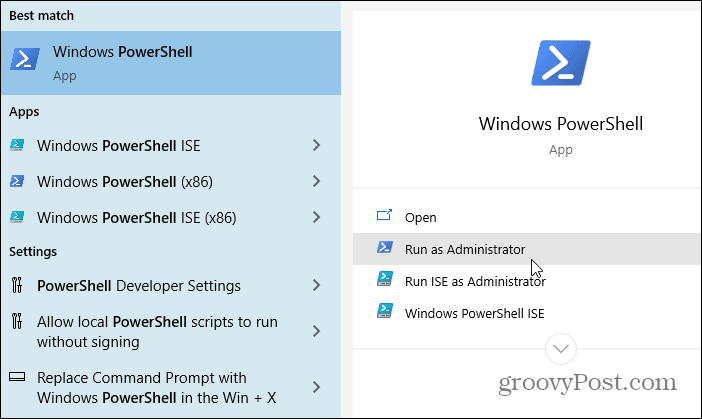
To find the serial number via PowerShell, hit the Windows key and type: powershell and run it as administrator from the search results.
Next, enter the following into the PowerShell and hit Enter: That will bring up your PC’s serial number, and you can write it down. Or, you can copy it into a document if you’re doing inventory by highlighting it and hitting Ctrl + C. Once it’s copied to the clipboard, hit Ctrl + V to paste it into your document.
Use Command Prompt
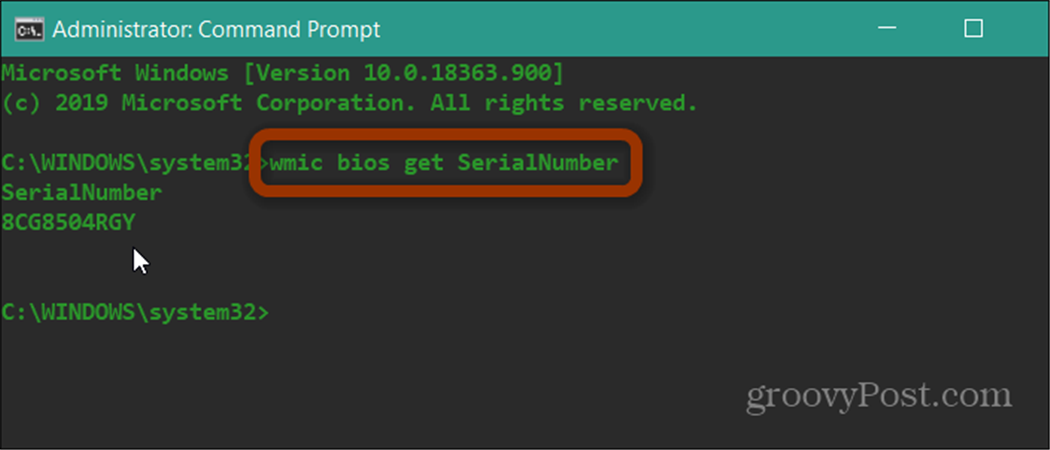
Suppose you would rather use the command line versus PowerShell you can. Start by hitting the Windows Key to launch Start and type: cmd and select Run as Administrator.
Next, enter the following into the command line prompt and hit Enter:
The command line will return with the serial number so you can copy it down and save it in an easy-to-access location. Of course, if the PC won’t boot, you will need to get the serial number from the sticker or warranty card. Still, if you need to find the serial number, it might be prudent to access it before disaster strikes. Boot up your computer and get the serial number using one of the steps above. Then put it in a secure location for the times when you need it.


![]()
