For example, without the proper amount of power, the PC isn’t going to work. Instead, the components in your PC, like the GPU, CPU, and sound card, need a proper balance of power. So, if you want to add a high-power graphics card, you must ensure the PSU is powerful enough for the task. You need to check the power supply on a PC before adding energy-draining components which may not run. This guide will explain how.
How to Check a Power Supply on a PC
One of the issues you’ll run into is that when you check a power supply on a PC, it’s not as straightforward as other components like RAM, for example. There isn’t an app you can install on your phone and point at the PSU to scan it. However, a few system functions and apps determine the PSU’s features and health. You might also get the PSU information from the manufacturer’s website or manual (if you still have it). For example, you can check Windows 11’s supported power features. However, that mainly deals with your laptop battery and operating system functionality. The accurate information is on the PSU itself.
You might have a desktop PC, and the new GPU you install doesn’t run correctly or not at all. You’ll want to check the correct load wattage and wires are connected correctly.
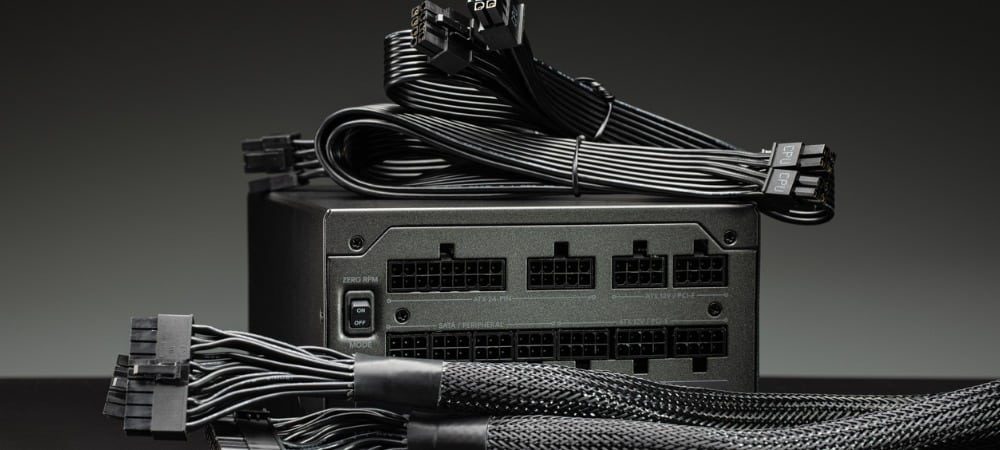
Remove Power Supply from the PC
Note: Most people skip this step, but for best results, wear an anti-static wrist strap. It grounds you on the computer case so you don’t generate static that can damage motherboard components. There are various types available, but most are under $10. Grab your desktop and ensure it’s not plugged into the wall and all peripherals are removed (including USB drives). Remove the side panel, so you have more room to work with. The number of screws (if any) will vary based on the PC’s model and size. Study how the PSU connects to the motherboard and other components. You can then reseat the cables and check for anything that’s loose.
Also, ensure you have canned air to clear out any dust and debris that can cause PSU issues.
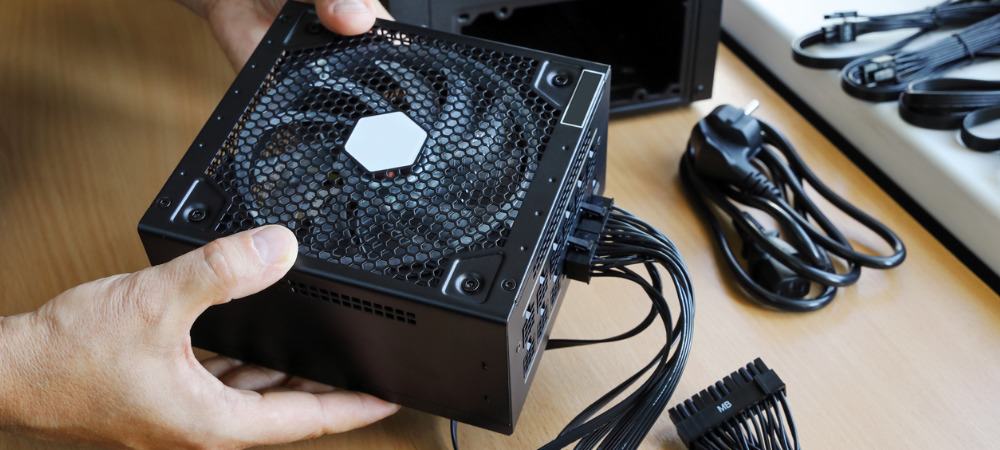
Remove the screws that are holding the PSU. Again, the number of screws will vary based on the PC’s make and model. Once you remove the power supply, you can inspect it and grab pertinent information.
Check the Power Supply Information
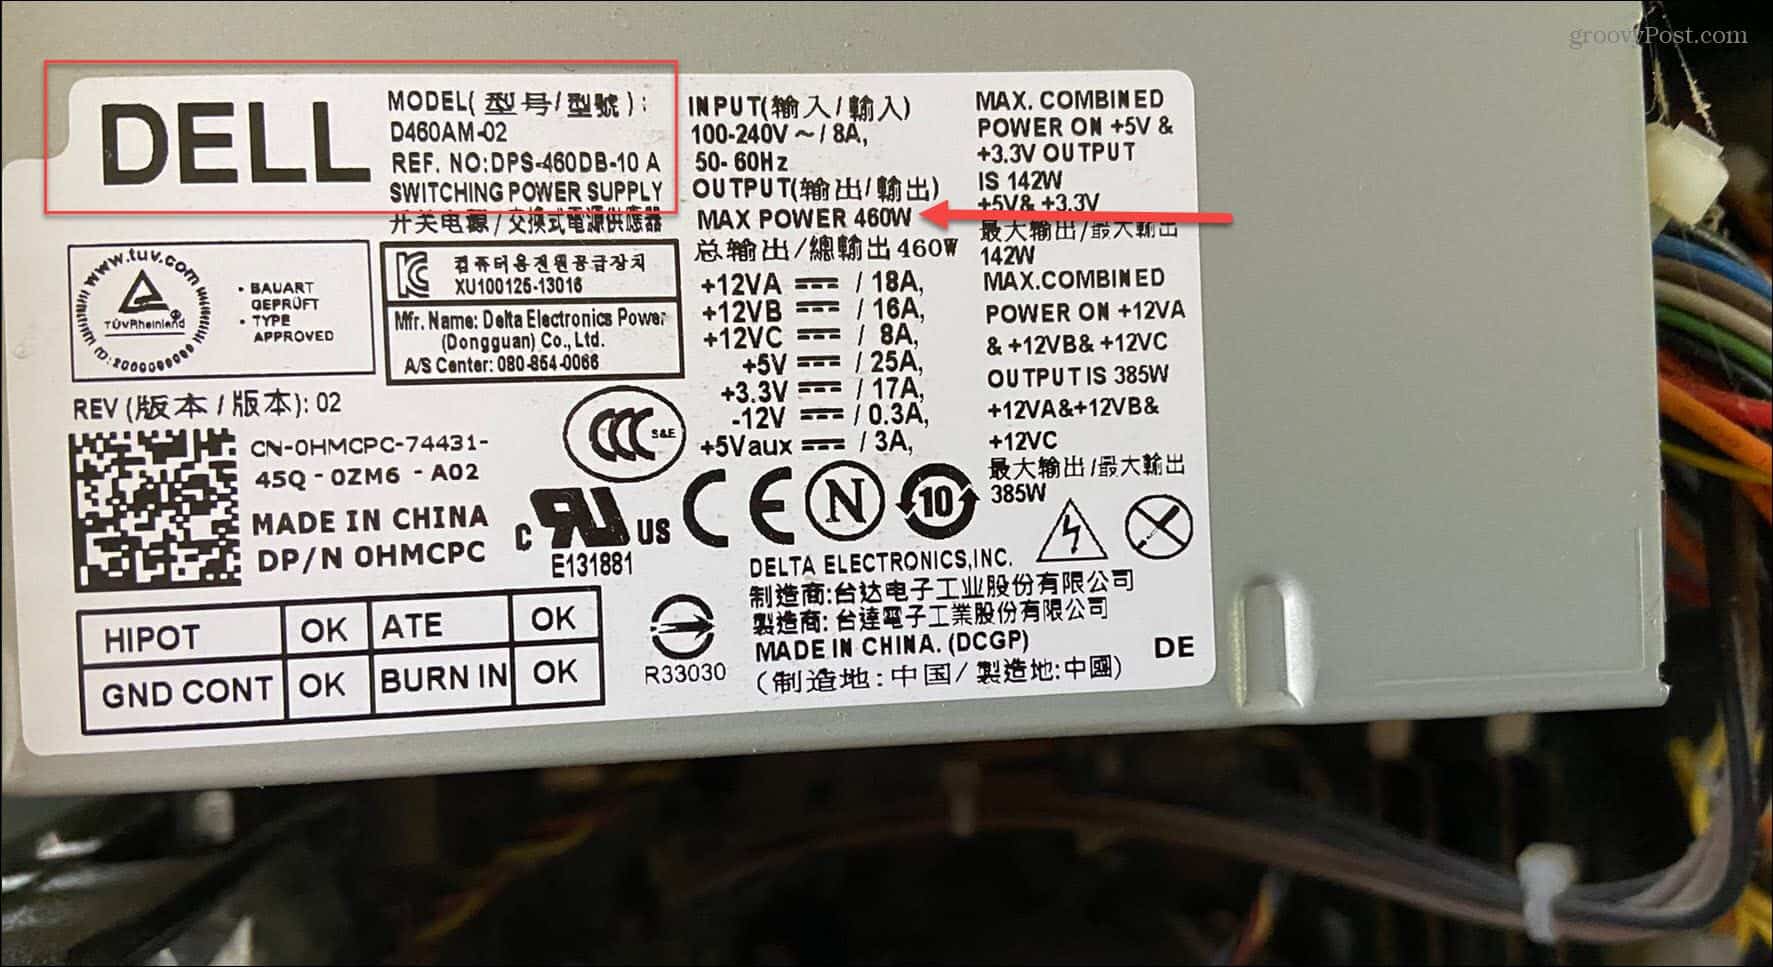
The information you need will be on a sticker on one of the sides of the power supply unit. You can see the manufacturer, max output (Watts), efficiency rating, serial number, and more. If you are replacing it with the same type of wattage PSU, check the manufacturer’s website for a replacement (if new, it might be under warranty).
However, if you’re installing more components and a more modern and powerful GPU, you’ll want to get a PSU with the proper wattage. If you’re building your own PC or even replacing several components, use the Power Supply Calculator on Newegg or the Outervision Calculator to get the proper PSU. Also, note that modern power supplies include an efficiency rating indicated by the 80 Plus certification system. It indicates that the PSU consumes no more than 20% over its output wattage. So, for example, if you got a 400W PSU at full load, it will not consume more than 500W from the outlet.
Maintaining Your Pc
Unfortunately, getting the best information about a power supply on a PC requires some work. For example, if your PC keeps shutting down, go in with canned air and ensure the PSU (and all components) are free of dust and debris. If the PC doesn’t power on after installing a new component (typically a graphics card), you’ll want to look at installing a new and more powerful PSU. It’s also important to note that you should ensure your PC is plugged into an uninterruptible power supply (UPS). A UPS keeps your PC on during a power outage so you can save data and shut it down properly. In addition, it protects your PC against energy noise, spikes in voltage, and power surges. In addition to installing a new GPU, you may be interested in how to install RAM. Also, read about monitoring GPU performance on Windows. Comment Name * Email *
Δ Save my name and email and send me emails as new comments are made to this post.


![]()
