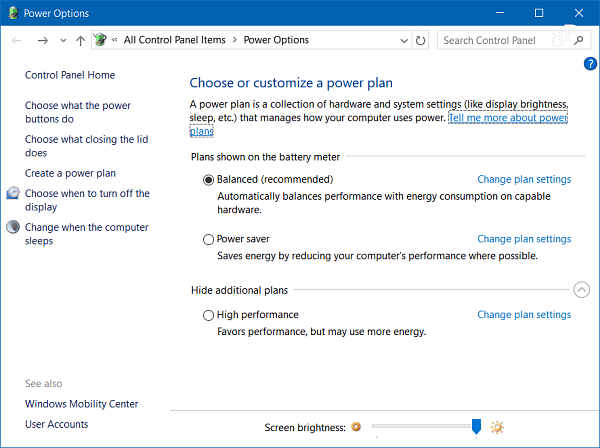
The power settings are located deep in the OS. You can get to them either by digging into Control Panel or the new Settings app in Windows 10. Depending on the power profile you pick, it adjusts different aspects of your system, such as screen brightness or apps and processes that run in the background.
Windows 10 Creators Update does make getting to the power settings easier. For instance, you can right-click the battery icon on the system tray to get direct links to power options. Or left-click to enable the Battery Saver option (which can also be accessed from Action Center) or link to Power & sleep settings.
But there is an easier way to manage power options in Windows 10 with the free app called PowerPlanSwitcher. This free app is quite the time saver when you’re on the go and working on your Surface or other portable Windows 10 device. It adds an icon to the taskbar to easily switch between power plans on your Windows 10 laptop without having to dig into settings.
Here is a look at the app description:
Windows 10 styled flyout that allows quick power plan schemas changingAbility to limit flyout only to Windows default power plan schemasAutomatic schema switching when AC adapter gets (dis)connected (disabled by default)Launch on Windows startupFlyout shortcut (Shift+Win+S)Navigate flyout with keyboardChange all settings by right-clicking on the tray icon :)
I’ve been using it for the past week and have been happy with it. Its icon blends in nicely with Windows 10, and it does exactly what it’s designed for – making switching between power plans easy. Give it a try, and let us know what you think about it in the comments below. Can you fix this as I’m interested in the app? P.s. You really need to give up on those late nights! Lol… Comment Name * Email *
Δ Save my name and email and send me emails as new comments are made to this post.
![]()


